Wednesday, January 17, 2018

Coloring in Ivy and the Inky Butterfly

Good morning everyone!

I am back with another coloring post. I have decided to continue working on my Fanciful Fox coloring page this weekend so I can work by daylight. The subtle differences in shading are harder to pick up in the artificial light, especially with the standard Crayola Colored Pencils because my layers are so light. Unfortunately we are at that time of year where I am lucky to catch 1/2 hour of daylight during the work week. =( No worries though! I have my bright colorful crafts to keep me sunny during this dark season.

So now on to what I have been working on. 'Ivy and the Inky Butterfly' by Johanna Basford is the second coloring book I purchased at Michael's last weekend. It was a bit more pricey than the Fanciful Fox coloring book at about $17. However it is a gorgeous story and coloring book that is well worth the price paid.

The reason why I chose to work in this book was because the pages are full of individual little details to color. This means I can color little bits in between my busy work week without getting into a major coloring area and having to stop and start again often. This means I can color on breaks at work and in between cooking, cleaning and taking care of the baby at home.

Some of the areas are so small that I decided to use gel pens in these areas instead of colored pencils. I plan on using my Crayola Artist Series Colored Pencils in this book as well for areas that are larger. Even though there are a lot of really small details, the background spaces are quite large on many of the pages. I will probably be using an acrylic wash for these. I would like to try watercolor as well but I currently do not own any watercolor paint.

Anyway on to the eye candy:


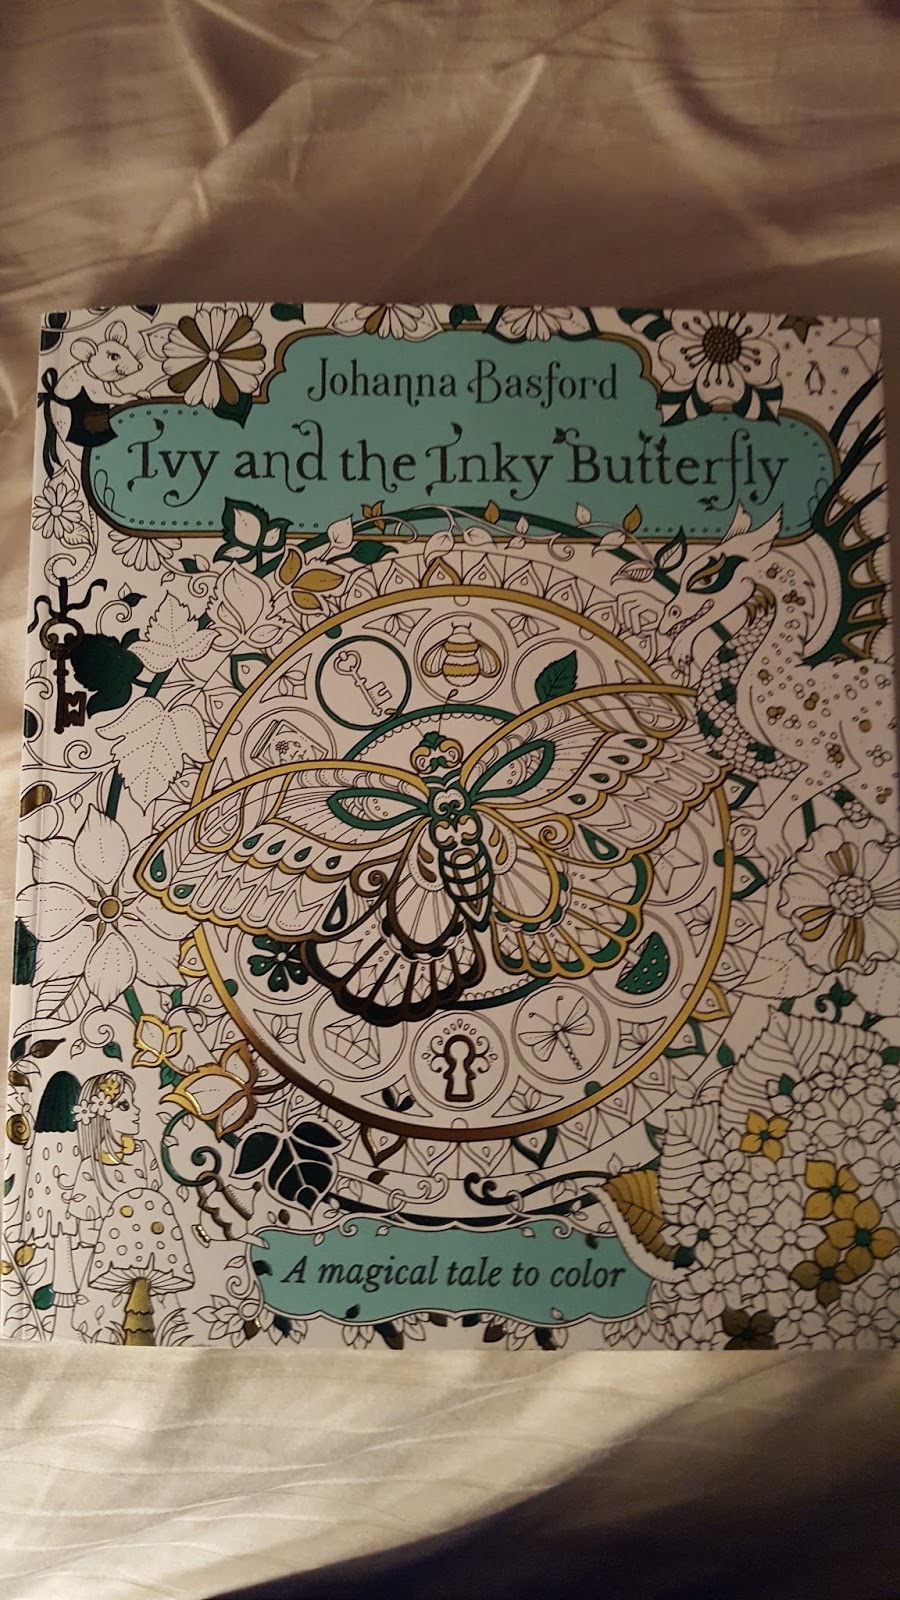
Here is the book. I apologize for the poor lighting. I took these in the morning before work by lamplight. =)


This is the only page I've started using colored pencil on. I love the Crayola Artist pencils! They blend really well.


Here is a close up of some of the strawberries.


Prior to using the colored pencils, I chose a sparkly yellow gel pen and flipped through the entire book. I colored every small star I could find.


This is one of the first pages. It is so detailed that I picked through and colored all the small stuff in gel pen first. It is ready for colored pencil now.


The story is about a young girl following a butterfly into a magical world. In the first half of the story the butterfly has knocked into some ink and is leaving a trail for the girl to follow in ink. Similar to the stars, I colored every inky butterfly spot within the book in a dark blue gel pen.

I had hoped to post this much earlier in the week, but realized my first pictures weren't so good. However, I have not had time in the daylight to take better pictures, so I decided to post them for now. I have made much more progress on the strawberry page I would love to share as well, but it will have to wait until the weekend.

Coming up...

Last weekend I ordered a hard to find coloring book off of Etsy from a wonderful Croatian artist Tomislav Tomic. I have been anxiously awaiting it's arrival, which should be tomorrow! I will do a photo flip through.

In the background I have been slowly (very slowly, lol) working on the Thomas Kinkade Disney Dreams Cinderella cross stitch. I will post some progress pics on this. These wont be posted as often as it takes awhile to see any real progress.

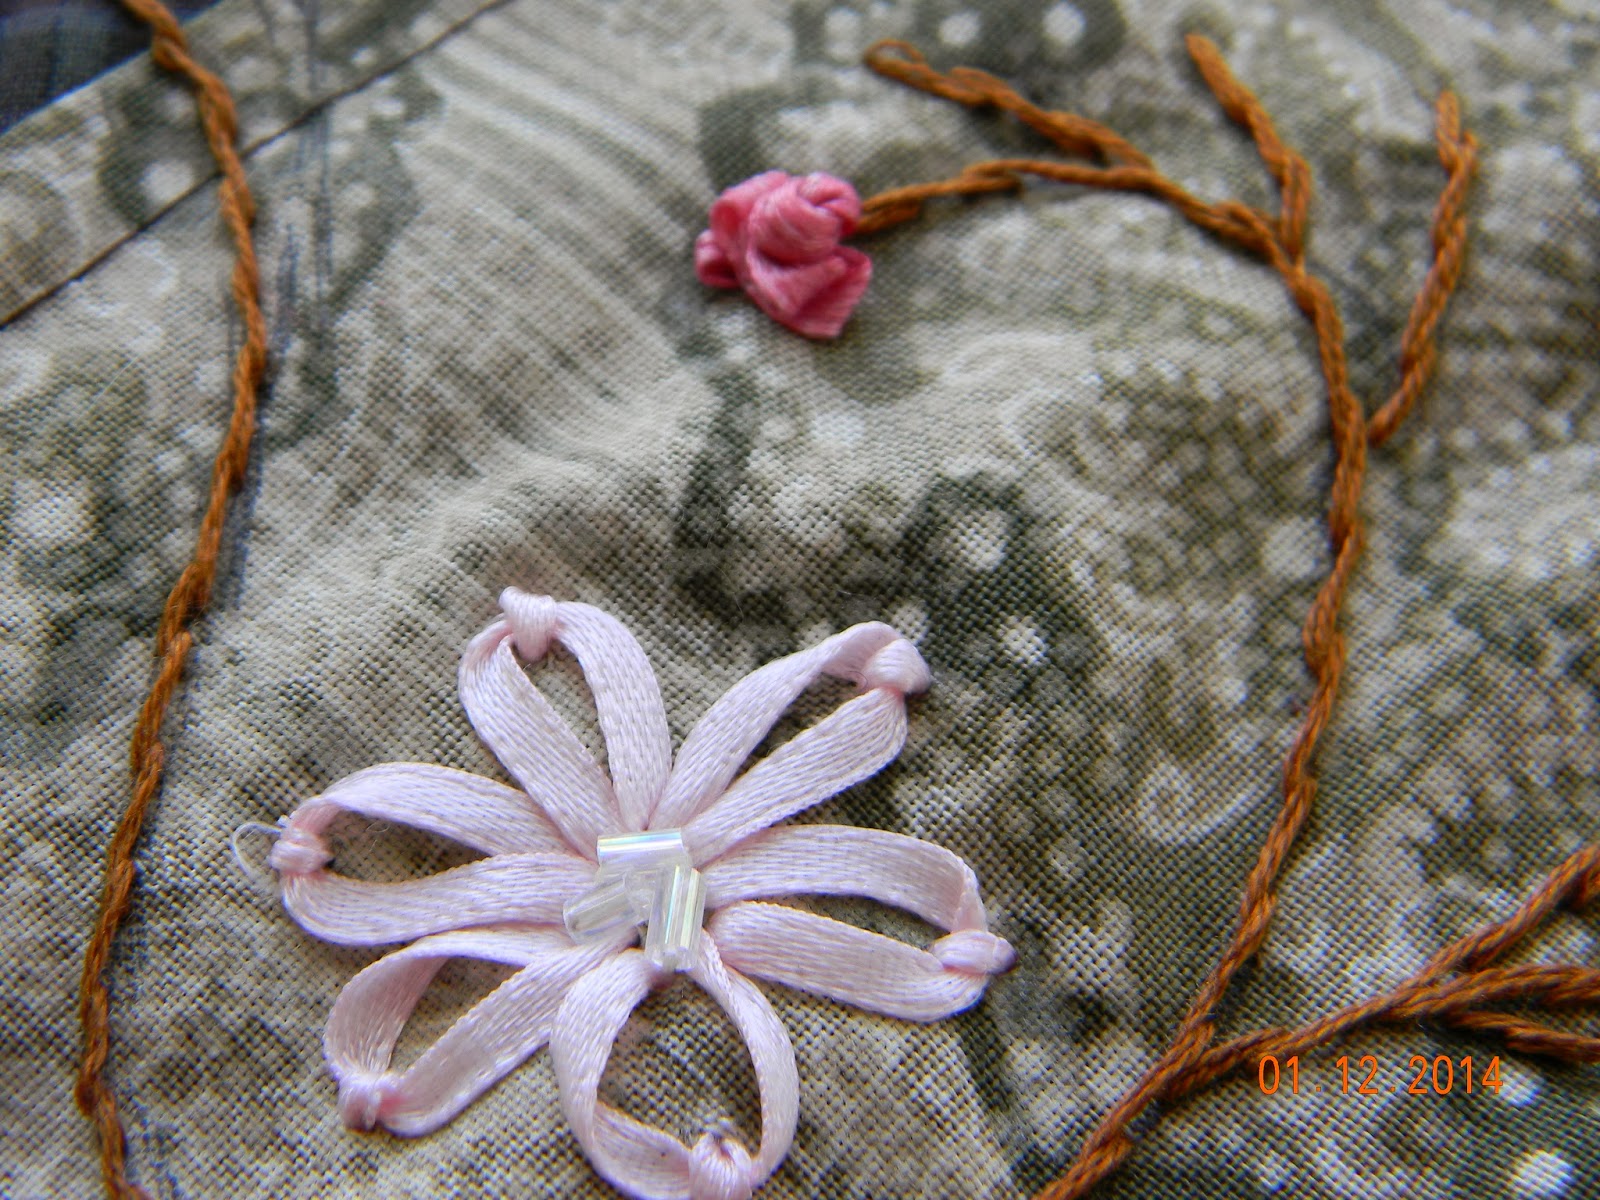
Lastly, I have also been doing some piecework free style embroidery that I am hoping to turn into a gypsy quilt. The fabrics are bright, colorful and patterned. I am using quite a bit of lace and vintage embroidery patterns.

Until next time...stay warm!

Monday, January 8, 2018

Coloring A Fox

Good morning and Happy Monday everyone! It has been a long time since I have posted. My last post was in 2014! I have missed the blogging community so much. It offers a unique opportunity to share my interests in Art, Crafting, Sewing and Embroidery (among many of my other hobbies). I have decided to jump back in and see where it takes me. I am not planning on a specific posting schedule. I do not want this to start to feel like an obligation because then I wont have fun with it anymore. I will however try to post at least once a week. We will see how it goes I guess.

Much in my life has changed since I left. The biggest change perhaps is the wonderful new addition to our family. My beautiful 7 month old Abigail!

Among other things, I now live in a better town with an awesome school system for my kids. My husband now owns his own business. Which means he is working all the time. That is ok for the moment though. That just means I have time to be artsy uninterrupted!

In the past by blog featured sewing and mostly embroidery projects. This time around I will be posting about many different art hobbies. I will try to make it obvious in the post title what the content will be containing.

On to the fun stuff! I have always loved to color and the new trend of adult coloring has made me very happy. About a year ago I purchased a couple of coloring books. The first was from Michael's and I was too intimidated by the beautiful artwork to actually start coloring in it. Then I found a couple at the dollar store that I liked. I started a page or two and then got stuck. I felt trapped because I didn't want to start more pages before finishing the first, but I had lost inspiration to finish the first. So the books got tucked away and almost forgotten about.

Anyway fast forward to a couple weeks ago and I stumbled upon some Youtube videos that reignited my inspiration for coloring and other paper arts. The artists name is Dede Willingham. She is a wonderful teacher and has demonstrated coloring techniques I would never have though of. Moreover she is a big advocate of working on a little at a time over many pages with no pressure to finish one at a time. I just love this! I don't know why I was putting unnecessary pressure on myself.

So now I have started coloring again. The piece I am going to show you I started this weekend. It is out of a coloring book I purchased from Michael's (Fanciful Foxes) for about $5.99.


So here I started by lightly coloring some of the leaves in Jade Green. I am just using standard Crayola Colored Pencils. To achieve a blended look, I used many light overlapping layers.


Here I am prepping to paint my background. I am using acrylic paint that I will water down. I am using a rather good quality brand because I have it on hand, but less expensive craft paint works just as well.


Here I have put in my acrylic paint wash background. I decided to paint the wolf blue and some of the flowers pink. I will go over them in colored pencil later.


I then colored over the black background with a black colored pencil.


I decided to add white paint speckles to my background to create a starry effect. The paint did cover other parts of my page but it will all be covered up with colored pencil anyway.


Here I have gone over my leaves with 2 light layers of Pine Green. I have also colored in the background spaces in the lower third of the page in 1 layer of Pine Green.


Here you can see the difference between 1 layer (right side) and 2 layers (left side).


Here I have started shading parts of the leaves in Navy Blue and doing a final blend in Jade Green. I still need to complete the remaining leaves. I have also gone over the backround spaces at the bottom in Navy Blue and Jade Green.


For the flower centers I used Golden Yellow, Light Orange and Mahogany. I then blended them with a top layer of Golden Yellow.

I am not sure when I will get back to this, but stay posted for more Artsy fun! Be happy and stay Positive!

Monday, February 24, 2014

Boxes & Boxes!


Hello everyone!  We had our first taste of spring this past weekend. It reached 50 degrees on Saturday. What a treat! I have begun my Spring cleaning a bit early. Mainly because my craft table sits in the livingroom and I don't want it to look as messy as it has been. Right now most of my small things like embroidery floss, trims, ribbons, beads, buttons, etc. are stored in ziploc bags. This bothers me because the bags look messy. They do not conform to a specific shape and slide all over each other. I have slowly been going through and arranging everything into slim boxes. This is much better because I can stack them on top of my table instead of hiding everything beneath it. Also, It makes it much easier to find what I am looking for.


Stackable!


Embroidery Floss


Beads


More Embroidery Floss


Trims


The trims were a bit tricky but I finally decided to wrap them and hold it in place with a basting stitch. This method is time consuming and I don't like that I will have to re-baste it every time I cut off a piece, but I cannot think of a better solution at the moment. This box is only about half my trims so I still have alot of work ahead of me. Until next time, happy stitching!

Monday, February 17, 2014

Benefit Baskets

Hey everyone. I have been a very busy bee over this holiday weekend! I have so many things to post about. However I want to take this post to tell you all about a benefit a friend of mine is throwing to raise awareness for Anorexia and bulimia. It is way more common than you think. People suffering from these diseases become very good at hiding it. For many it can start as young as 10 to 13, however there have been extreme cases of it starting from toddlers. It is literally a mental disease. There is a "voice" in the sufferer's head, putting them down and preventing them from eating.
 
In support of the benefit I am donating a couple of baskets for raffle. I am labeling them "Winter Wellness".


These baskets aren't complete because I still need to add cocoa and home baked cookies.
 
 
These patterns were embroidered onto the ends of the scarf. The flying bird and open cage is a symbol for overcoming eating disorders. I have stitched them in periwinkle blue which is also the disorder ribbon color.


Here is the complete scarf. The design is called 'petal scarf'. I found a tutorial through google.
 
 
Here are a couple of warming pillows filled with flax seed. There is one for each basket.
 
 
Lotion and lip balm is a must in the winter.
 
 
I still have a lot to catch you guys up on so stay tuned for more posts. Happy Stitching!

Thursday, February 6, 2014

1oo Details

Hey everyone. It has been awhile since my last post, but that doesn't mean I haven't been productive. I have started a challenge over on stitchinfingers called 100 Detail in 100 Days. It is what it sounds like. I am attempting to stitch 1 crazy quilt seam treatment a day on a sampler I pieced together for this challenge. It has been quite the challenge! Less than a week in a caught a bad cold followed by a business trip that all made me miss a few days. Below are some pictures of what I have stitched so far.


These pictures aren't the greatest because I don't get access to a lot of daylight this time of year. 'm hoping for a photoshoot this weekend if I can find the time. Until then happy stitching everyone!

Tuesday, January 14, 2014

Painting!


Good morning all! My BFF took me to a paint and sip (wine) workshop for my birthday last November. It was so much fun and ever since then I've been playing around with paint.


This is my wall for paintings in my upstairs hallway. The wall decals came from my Mother in Law for Christmas.


This painting I did at home with some beginner stuff my BFF got me for Christmas. I also painted a train for my husband but totally forgot to take a picture of it.


This is the painting I did for the painting class. It was so much fun to see how different everyone's painting looked although it was the same picture.
 
 
This painting my 4 year old did along with me when I painted the top painting. He really got a kick out of it. So what I did for those two is a placed strips of masking tape onto wax paper. I then drew shapes on it. Butterflies for me and Batman for little man. I cut them out with an exacto knife then peeled the wax paper off like a sticker. We placed our stickers on the canvas then painted over the whole thing. After the paint dried we peeled the stickers off. I then touched up the white parts with gold paint for detail. I am quite pleased with the results.
 
On a sewing note, I have decided to start following Sharon Boggins TAST, both for practice and to try out some new stitches. I stitched the first stitch last night (fly stitch). I will post pictures as soon as I have good enough light to take them. It is just too dark by the time I get home from work. I fear all my picture taking will have to happen on the weekends.
 
Also, over on stitching fingers I will be starting 100 details in 100 days. I have not done too much crazy quilting in awhile. This is a great way to brush up on that without starting a huge project. I will be making a strip sampler this weekend. Hopefully I will have pictures for next week.
 
There is a lot of sewing in the making but nothing to show for it yet. Until next time, happy stitching!

Sunday, January 12, 2014

Back to blogging!

Hey everyone! It has been awhile since I have blogged but I am eager to get back to it this year. Many good things have changed in my life to allow me to delve back into my hobbies. I have moved to the suburbs and am renting a good size house (well half house). I have enough space that I was able to take my entire sewing stash out of storage! It was like Christmas looking through everything. I will be posting a bit later on about my working space / craft storage problem, but first I thought I would kick off posting with some projects I have been working on.


I found a stack of these awkward sized pieced blocks when I took my stuff out of storage. I don't remember what they were supposed to be for. I decided to embellish one and make it into a case for my ipod.
 
 
The stems are all back stitch. The light pink flowers are detached chain stitch with sparkly beads in the center. I just love a little sparkle!
 
 
These rosebuds are so adorable. This stitch is a French knot ribbon rose. It was surprisingly really easy.
 
 
I did have a problem finding the right needle to use for the ribbon work. First I tried using a regular embroidery needle with a large eye, but the eye end was too slim to accommodate the ribbon. I then switched to a tapestry needle but the point was too blunt. It is obvious now I should have used a chenille needle, but I don't have any at the moment. That is one thing that did not survive the storage trips, my needles! I went through my entire stash but I did not come up with much. I plan to use a few more of these pieced blocks to make a needle book. I will post again when I have finished off this block. Until then, happy stitching!